


Back again for posting of pictures. So, after I replaced the compartment doors and all the lights on the outside, it was time to wire and insulate. I had to study the wire diagram as well as build a temporary stand for the distribution panel. I also installed a 30 amp RV plug on the side of my house so that I would be able to check the wiring as I wired.
Here are some pics. I also have a converter mounted so as to check any 12 volt items. I might add that I have chosen to keep the original fan since it works fine. I know it does not move as much air as a fantastic fan, but it works and I am going to keep it installed until it dies. Once I had a wiring plan put together, I went ahead and ran the wires to the three junction boxes (2 street-side and 1 curbside, all behind where the upper cabinets are installed).
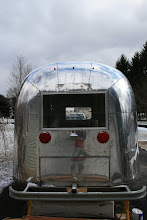
Once all of the wires were run, I started insulating. This was fun because it was starting to look like it was coming together. Oh, and the AC works. It was kind of intimidating and time consuming to put the end caps back in. That is really what kept me from moving forward for a while. I was intimidated by those big ass end caps. Rosemary and I did it and it only took about 10 minutes each.
2 comments:
Andrew
Im about to start wiring my 56 and I purchased the same panel as shown in your photo. Any tips you can share? What size wire did you use? Do you have any other suggested hardware needed before the panel? Thanks! Jaime
Post a Comment